Your HVAC system just failed on the hottest day of the year. It's 95 degrees outside, humidity's crushing, and that repair bill you're staring at could've been avoided with one simple truth most homeowners never hear.
Here's the brutal reality – 60% of all HVAC breakdowns happen because basic testing gets ignored until it's too late. You wouldn't drive your car for years without checking the oil, yet that's exactly what we do with the system that keeps our families comfortable year-round.
The good news? Spotting trouble before it costs you thousands isn't rocket science. You just need to know what to look for, when to check it, and the quick tests that separate a healthy system from one that's about to die.
Let me show you the same testing checklist our techs use on every service call – the exact moves that catch problems while they're still cheap to fix.
How Often Should You Test Your HVAC System? (The Seasonal Maintenance Schedule That Prevents 90% of Breakdowns)
Most homeowners wait until their system screams for help before they lift a finger. That's like ignoring your check engine light until smoke pours from the hood. The brutal truth? HVAC systems don't just crash overnight. They die slowly, with warning signs that scream at you for months.
The sweet spot for HVAC testing isn't complicated. Test your system twice a year – once in spring before the Greensboro heat hits, and again in fall before winter arrives. That's it. Two simple checks that catch 90% of problems while they're still cheap to fix.
Here's what that calendar looks like:
- Spring Testing (March-April): Test cooling components, refrigerant levels, and electrical connections before the brutal North Carolina summer kicks in. This prevents those 95-degree breakdowns that cost triple.
- Fall Testing (September-October): Check heating elements, pilot lights, and ventilation systems before the first freeze hits. Nobody wants to wake up to a dead furnace in December.
Between these major tests, give your system a quick 5-minute visual inspection every month. Look for water leaks around the indoor unit, strange noises when it kicks on, and any ice buildup on the outdoor coil. These visual checks add zero time to your routine and catch problems most people miss until it's too late.
HVAC systems in Greensboro work harder than most. Our humidity levels and temperature swings put extra stress on equipment. If you skip these seasonal tests, you're rolling dice with a $3,000+ repair bill. Don't be that person sweating through a heatwave while waiting for an emergency repair truck.
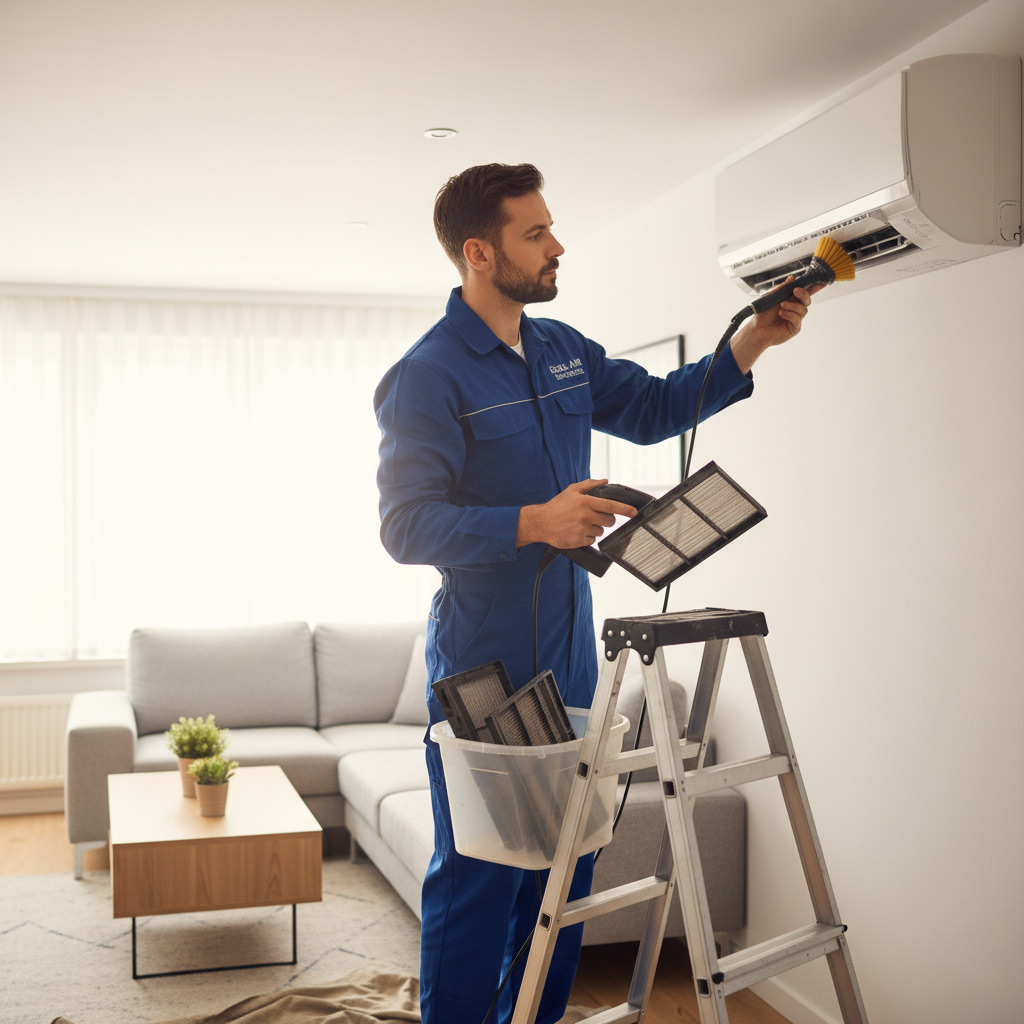
Essential HVAC Tools Every Homeowner Should Own for Basic Testing
Forget dropping hundreds on fancy gadgets you'll never use. The truth is, catching most HVAC problems early takes just a handful of tools you probably already own. We're talking basic stuff that fits in a small toolbox but pays for itself the first time you spot a failing capacitor or leaky duct.
The absolute essentials:
- Digital thermometer – Not the forehead-scanning kind. A probe thermometer helps you measure temperature differentials across your vents and registers, telling you instantly if your system's actually working
- Quality air filter – Don’t test with a dirty filter. Keep a clean one handy to rule out the most common airflow killer
- Flashlight or headlamp – HVAC systems hide problems in dark corners. You need both hands free to check drain pans and electrical connections
- Multimeter – Basic voltage testing keeps you safe. No need for the $300 model; a simple voltage tester confirms power is reaching your unit
Here’s what most homeowners miss: You also need information tools. Keep your system’s manual, model numbers, and a notepad in that same toolbox. When something acts up, you’ll have the details a pro needs to diagnose it over the phone – saving you a service fee.
The goal isn't to replace your technician. It's having enough tools to spot trouble early and communicate clearly when you need help. A $40 investment in these basics has saved Greensboro homeowners thousands. Next up, let’s put these tools to work.
The 15-Minute HVAC Health Check: A Step-by-Step Testing Procedure You Can Do Today
Start with the thermostat because it's the brain of your entire system. Turn it down 5 degrees cooler than room temperature and listen for the indoor unit kicking on within 60 seconds. If nothing happens after two minutes, you've either got a thermostat issue or the system isn't receiving power.
Next, head to your air handler or furnace and place your hand against the metal cabinet. You should feel a gentle vibration when the unit runs. No vibration means no operation – check your circuit breakers and emergency switches before calling for help.
Airflow and Temperature Checks
Hold a tissue or paper strip up to any supply vent in your home. Good airflow will pull it toward the grille and hold it there. Weak airflow suggests clogged filters or ductwork problems that need professional attention.
Now here's where homeowners miss crucial clues. Use a simple meat thermometer to check the temperature difference between your supply and return vents. Stick it directly into the airflow of both vents for 30 seconds each.
- Supply vent reading should be 15-20°F colder than the return vent
- Less than 10°F difference signals low refrigerant or compressor trouble
- More than 25°F difference could mean restricted airflow
Quick Component Inspection
Walk around your outdoor condenser unit and look for obvious damage. Bent fins, debris buildup, or pooling water around the base are red flags. Clear away any leaves or grass within two feet of the unit.
Listen for unusual noises during operation. A steady hum is normal, but rattling, screeching, or grinding sounds indicate bearing problems or loose components that will only get worse.
Check your condensate drain line for clogs. Locate the white PVC pipe coming from your indoor unit and trace it outside or to a floor drain. Pour a cup of water down the drain – if it backs up instead of flowing freely, you've got a blockage that can cause water damage.
Understanding Your HVAC System's Test Results: What Those Numbers Really Mean
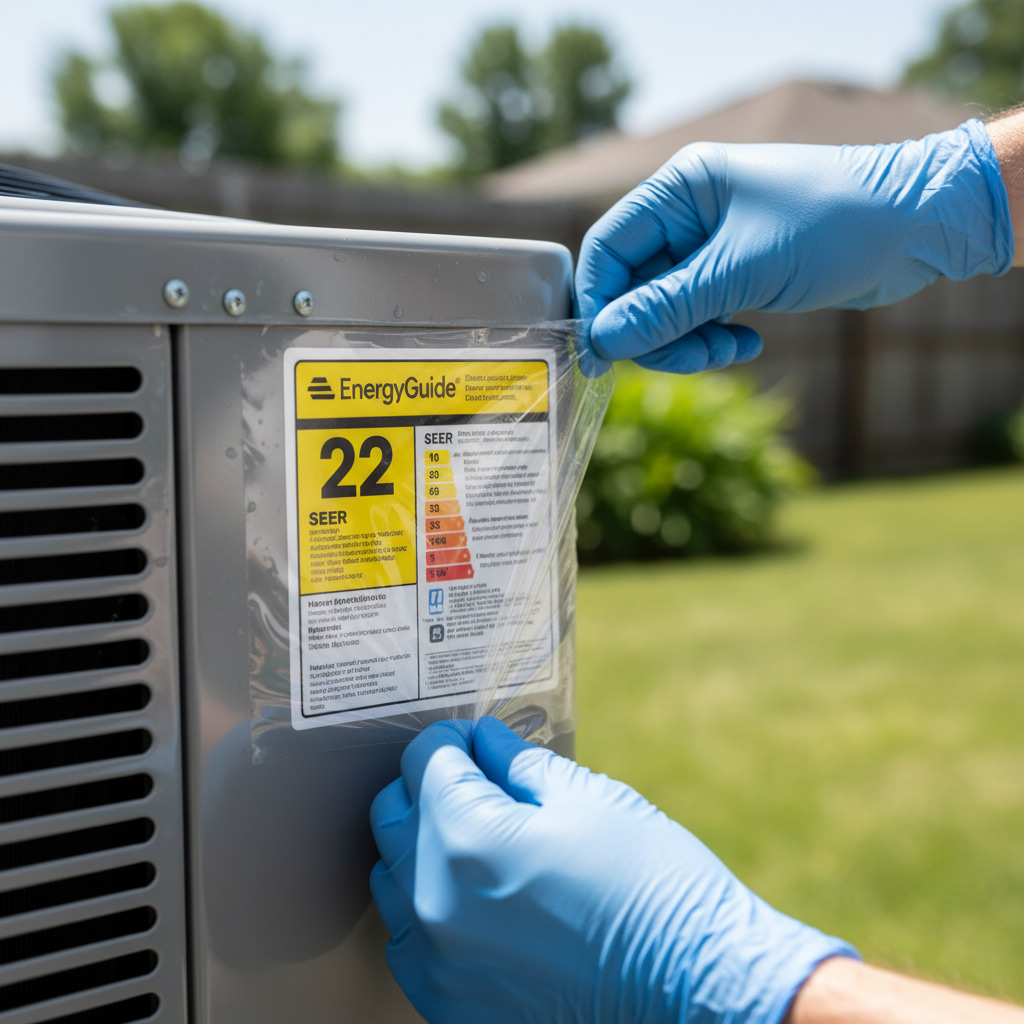
You just checked your HVAC system and got readings like 14.6 SEER, 78% AFUE, or maybe your refrigerant pressure shows 125 psi on the high side. Most homeowners see these numbers and feel like they're reading hieroglyphics. Here's the truth – these aren't random digits. They're your system's vital signs, and when you know how to read them, you can predict problems before they happen.
Let's start with the basic numbers you'll encounter during testing:
Temperature Splits: The Heartbeat of Your System
When you measure air temperature before and after it hits your evaporator coil, you're looking for an 18-22 degree drop. Anything below 16 degrees means your system isn't absorbing heat properly. If it's above 24 degrees, you might have air flow issues or refrigerant problems.
Why this matters:
- Low split (under 16°F): Could be dirty coils, low refrigerant, or failing compressor
- High split (over 24°F): Often indicates restricted air flow or ductwork problems
Check this with a simple thermometer – one reading at the return air vent, another at the supply vent closest to your indoor unit.
Pressure Readings: The Hidden Language of Refrigerant
High side pressure should sit between 110-140 psi when outdoor temps hit 85-95°F. Low side pressure typically runs 30-45 psi for most residential systems. When these numbers drift outside normal ranges, you're looking at issues that won't fix themselves.
Pressure too high? Your system's working overtime and might have:
- Dirty condenser coils restricting heat release
- Overcharged refrigerant levels
- Air trapped in the refrigerant lines
Pressure too low? You could be dealing with refrigerant leaks or compressor failure. Either way, these numbers give you a heads-up weeks before complete system failure happens.
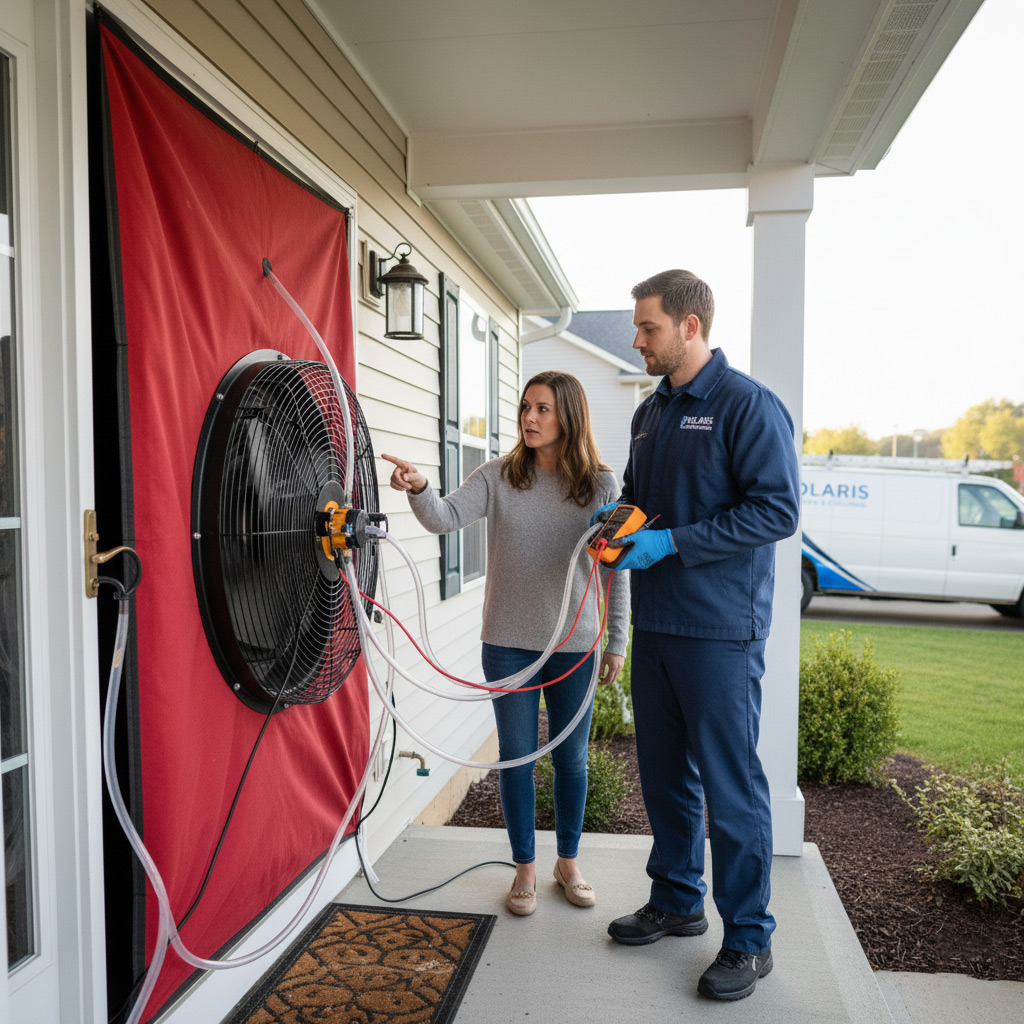
Advanced HVAC Testing Methods: When to Call the Professionals
There comes a point when your DIY testing hits a brick wall. You've checked the filters, cleaned the coils, and verified the thermostat settings, but something still feels off. Maybe you're hearing strange grinding noises from the furnace, noticing inconsistent temperatures between rooms, or seeing your energy bills climb despite normal usage patterns.
These are the red flags that scream "professional territory." While basic testing keeps most problems at bay, certain diagnostic tasks require specialized equipment and years of experience to execute safely and effectively.
The Tools That Separate Pros From Amateurs
Professional HVAC technicians arrive with diagnostic tools that most homeowners don't even know exist:
- Combustion analyzers – Measuring flue gas composition to ensure safe, efficient furnace operation
- Refrigerant leak detectors – Pinpointing exact locations of leaks that are invisible to the naked eye
- Manifold gauge sets – Checking refrigerant pressure and superheat/subcooling levels
- Digital airflow meters – Verifying proper ductwork performance and system capacity
These aren't tools you can grab at your local hardware store. They cost thousands of dollars, require specialized training to operate correctly, and demand knowledge of industry standards that change annually.
Safety Boundaries You Should Never Cross
Working with refrigerants, natural gas lines, and high-voltage electrical components carries real dangers. Gas leaks can lead to carbon monoxide poisoning or explosions. Improper refrigerant handling can cause chemical burns or even death in enclosed spaces. Electrical mistakes might not just damage your system – they can start fires.
Certified technicians carry insurance that protects both them and your property. They understand local codes, manufacturer specifications, and the physics behind proper ventilation and combustion. Most importantly, they have backup systems and safety protocols that simply don't exist in residential settings.
Consider this: HVAC-related carbon monoxide incidents send over 15,000 Americans to emergency rooms annually. Professional testing doesn't just catch problems – it prevents tragedies.
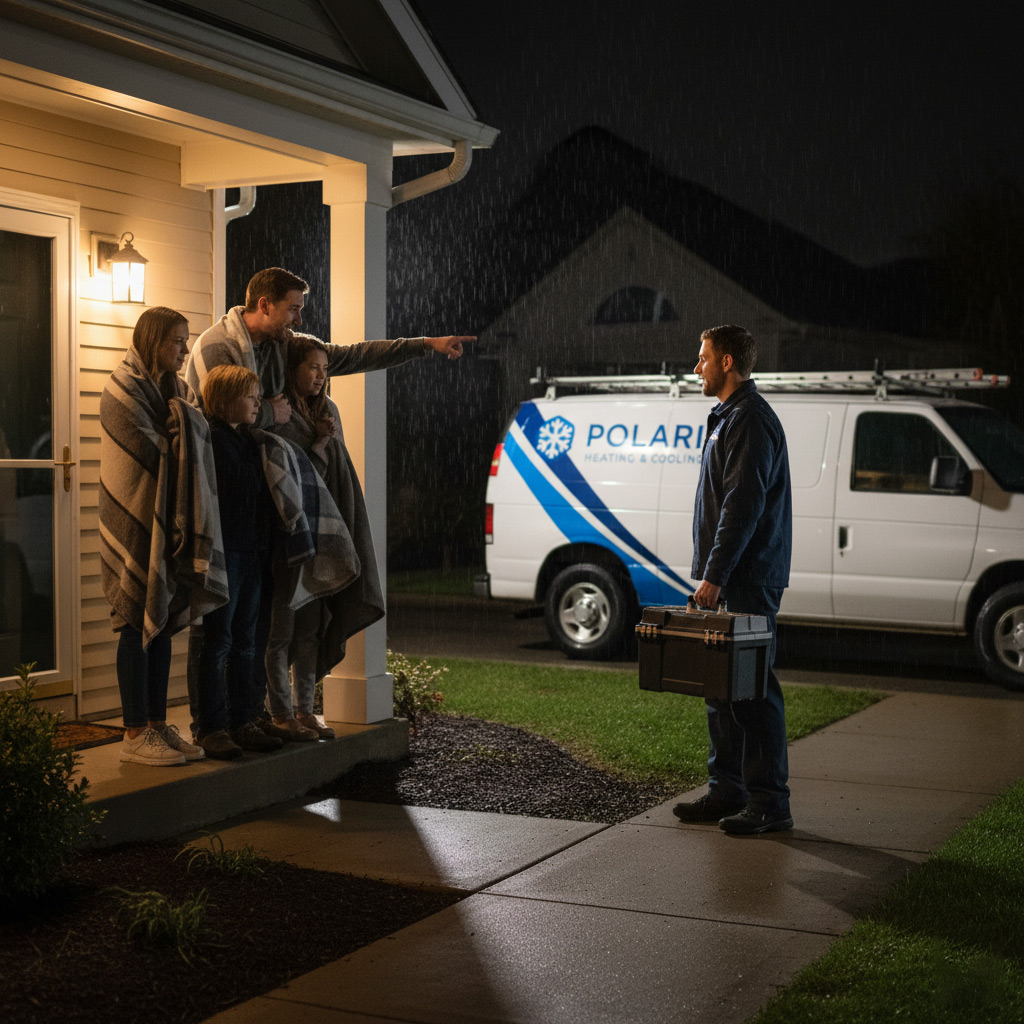
Greensboro Case Study: How Regular Testing Saved a Local Family $3,200 in Emergency Repairs
Meet the Rodriguez family from downtown Greensboro—they almost learned about HVAC testing the expensive way. Sarah Rodriguez noticed her air conditioner making a faint grinding noise every time it cycled on during June's heatwave. Most folks would've ignored it or cranked up the thermostat, but Sarah remembered reading about early warning signs from our technician blog.
When our tech arrived for their scheduled maintenance check (which costs $89), he found three issues that would've become catastrophic within weeks. Here's exactly what routine testing caught:
- Worn blower motor bearings causing vibration (would've seized completely)
- Refrigerant leak at the evaporator coil connection (losing 1lb per month)
- Electrical contactor showing heat damage from arcing (would've burned out the compressor)
Total repair bill for these minor fixes? $387. The Rodriguez family asked what would've happened if they'd waited until the system broke. Our tech pulled out the service history records showing the same three issues on a neighbor's system last summer—that family waited until the compressor burned out on a Sunday afternoon when emergency rates apply.
Their final bill?$3,592. Ouch. The neighbor paid nearly ten times more for the same underlying problems because they skipped the simple testing steps. Sarah’s takeaway? Testing isn't just about comfort—it's about catching small problems before they eat your savings account.
7. Final Words: Your Testing Checklist for Year-Round Comfort and Peace of Mind
Here's the bottom line — your HVAC system isn't a set-it-and-forget-it appliance. Treat it like your car's engine: ignore the warning signs, and you're guaranteed a roadside disaster.
Print this checklist. Stick it on your fridge. Set quarterly phone reminders. Do whatever it takes to make these quick checks part of your routine.
Monthly Quick Scans (5 Minutes)
Listen for unusual noises when the system kicks on. Check your air filters — if they're grey and clogged, you're choking your system. Walk around your outdoor unit. Clear away leaves, debris, and anything blocking airflow. Notice any ice buildup inside? That's a red flag you can't ignore.
Seasonal Deep Checks
- Spring (Before Cooling Season): Test your thermostat. Replace batteries. Hose down the outdoor condenser coils gently. Schedule professional HVAC Testing And Inspection if it's been over a year.
- Fall (Before Heating Season): Clean or replace filters. Check pilot lights if you have gas heat. Seal any air leaks around windows and doors — your system shouldn't work overtime because of drafts.
When something feels off, trust your instincts. That faint burning smell? The system short-cycling every ten minutes? Those aren't "maybe" problems — they're expensive emergencies waiting to happen.
Don't wait for the breakdown that costs you thousands. The twenty minutes you spend today on basic testing could save you from sweating through a Greensboro heatwave next July with an empty wallet.
People Also Ask
How often should HVAC systems be tested in Greensboro's climate?
Homeowners in Greensboro should test their HVAC systems at least twice yearly - once in spring before cooling season and once in fall before heating season. The humid subtropical climate with hot summers and mild winters puts extra strain on systems, making quarterly filter checks and monthly thermostat calibration essential for optimal performance and energy efficiency.What are the most important HVAC tests homeowners can perform themselves?
Homeowners can safely perform visual inspections, filter replacements, thermostat accuracy checks, and airflow assessments using basic tools like thermometers and manometers. These DIY tests help identify obvious issues like clogged filters, refrigerant leaks, or electrical problems before they escalate into costly repairs while maintaining system efficiency and indoor air quality.What warning signs indicate an HVAC system needs professional testing?
Professional testing becomes necessary when systems produce unusual noises, fail to maintain consistent temperatures, show sudden energy bill increases, or exhibit poor airflow from vents. Other red flags include frequent cycling, ice formation on components, strange odors, or systems over 10 years old that haven't had recent professional maintenance.How long does a professional HVAC system test typically take?
A comprehensive professional HVAC test typically takes 60-90 minutes for standard residential systems, covering electrical testing, refrigerant levels, combustion analysis, and airflow measurements. Larger or more complex systems may require 2-3 hours, while basic seasonal maintenance checks can be completed in 30-45 minutes depending on system condition and test findings.Can regular HVAC testing actually save money on energy bills?
Regular HVAC testing and maintenance can reduce energy bills by 15-25% by ensuring optimal system efficiency and identifying problems early. Well-maintained systems operate more efficiently, require fewer emergency repairs, and typically last 3-5 years longer than neglected systems, providing significant long-term savings on replacement costs and utility expenses.Greensboro HVAC delivers heating, ventilation, and air conditioning services across the Greensboro, North Carolina area. Their trained technicians perform installation, repair, and maintenance for residential and commercial clients. The team focuses on timely, dependable service tailored to the local climate.
Need HVAC?
We deliver timely and effective solutions in Greensboro, NC and surrounding areas (27401, 27403, 27410) to help individuals and businesses achieve their goals quickly and efficiently, with a focus on driving results and enhancing productivity. Our services are designed to provide fast and reliable outcomes that meet the unique needs of our clients.
Request Detailed Quote